Table of Contents
Bacon is probably my favorite food in the world. You see a ton of bacon on my social media pages and website because it's so versatile and delicious! There are many different ways and varieties to cook bacon. I prefer the easiest way that comes out the best. When all things are considered, cooking bacon in the oven is absolutely the best way to do it!
To understand why bacon in the oven is the best method - we should first talk about some of the other popular methods that have been used over time to cook this delicious delicacy.
Pan Frying: there's no doubt that this is the way that this is the way that everyone learned to cook bacon at one time or another - this timeless method has been passed down over the generations. While cooking bacon in your cast-iron skillet is a great way to season the skillet and help make it non-stick. The grease splattering everywhere is certainly not preferable. For this reason, and not having to stand and watch it, I prefer bacon in the oven.
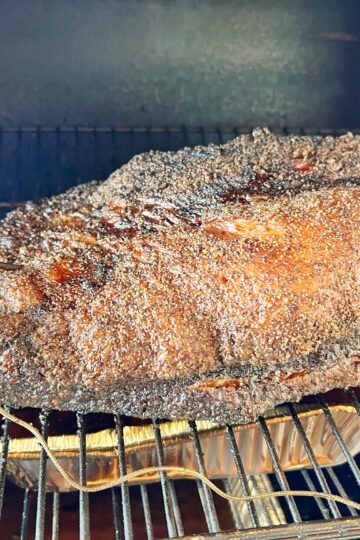
Smoking: This is essentially the same method as cooking bacon in the oven. You're baking the bacon in an enclosed chamber, just adding additional smoke flavor. This is delicious, no doubt about it - but often times it's not completely necessary because most times bacon is already smoked coming from the grocery store as part of the manufacturing process. I prefer bacon in the oven.
Microwaving: This has been made popular over the years due to it's ease and simplicity. It's also popular because no matter whether you're a grandparent, or a college student, you probably have easy access to a microwave. Results are mixed on this one, and I don't do it because it makes a mess and it's really easy to under and overcook the bacon. I'll just cook my bacon in the oven.
Let’s Prep:
Prepping bacon in the oven couldn't be easier. There are only 3 items needed to cook bacon in the oven (4 if you count the oven.) Before we can cook the bacon in the oven, let's get the needed components ready - they are:
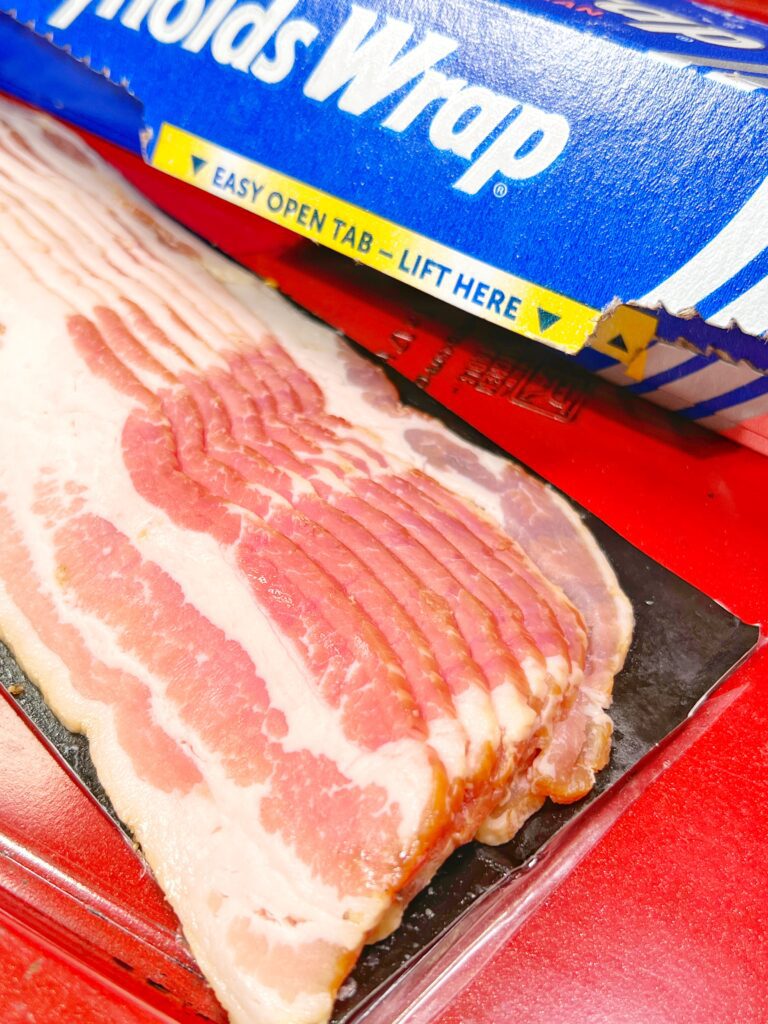
- Bacon
- Aluminum Foil
- Baking Sheet
That's it. Super easy.
Start by laying down a sheet of aluminum foil to cover your entire cooking sheet. I do this all in one piece. This way I can curl up the edges all the way around and keep all of the grease inside the foil. This will help significantly on clean up time as well. When done, simply let the tray cool on the counter until the grease solidifies. Lift out the entire foil and toss in the trash. That's it! No trying to figure out how to dispose of grease, and you don't have to clean a baking sheet. Win Win - plus their's bacon.
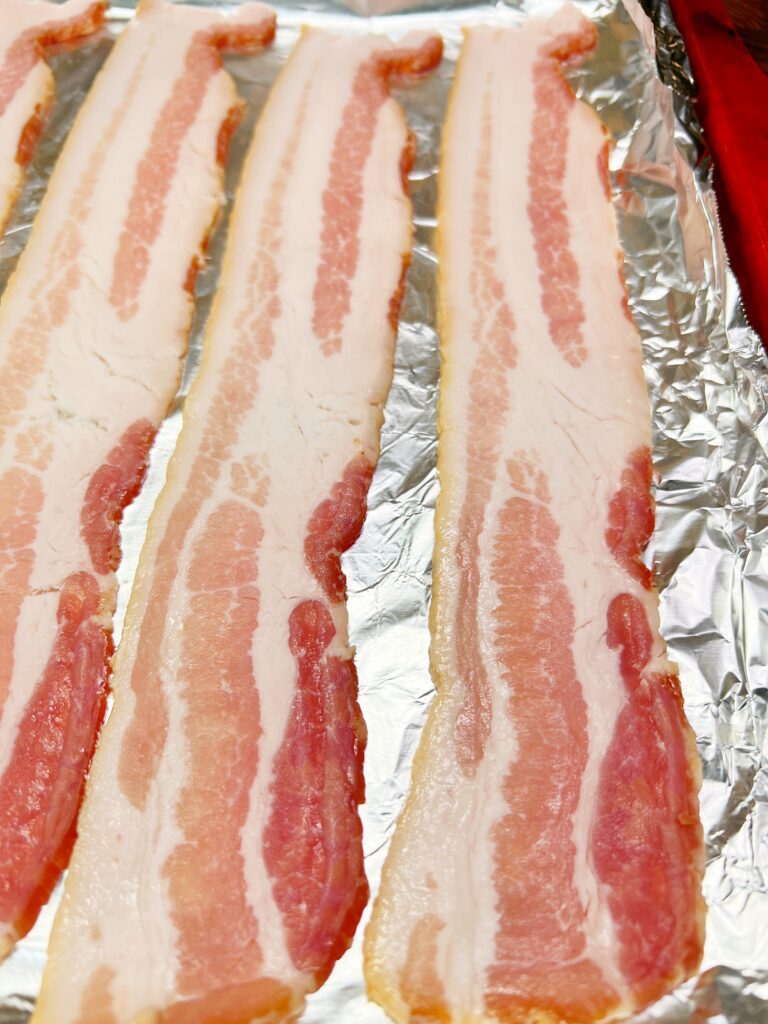
Now that we've gotten the sheet covered it's time to lay down the bacon. This is a simple process, but take the extra 2 seconds to make sure that you've maximized your cooking area, and that your slices of bacon aren't touching or overlapping one-another.
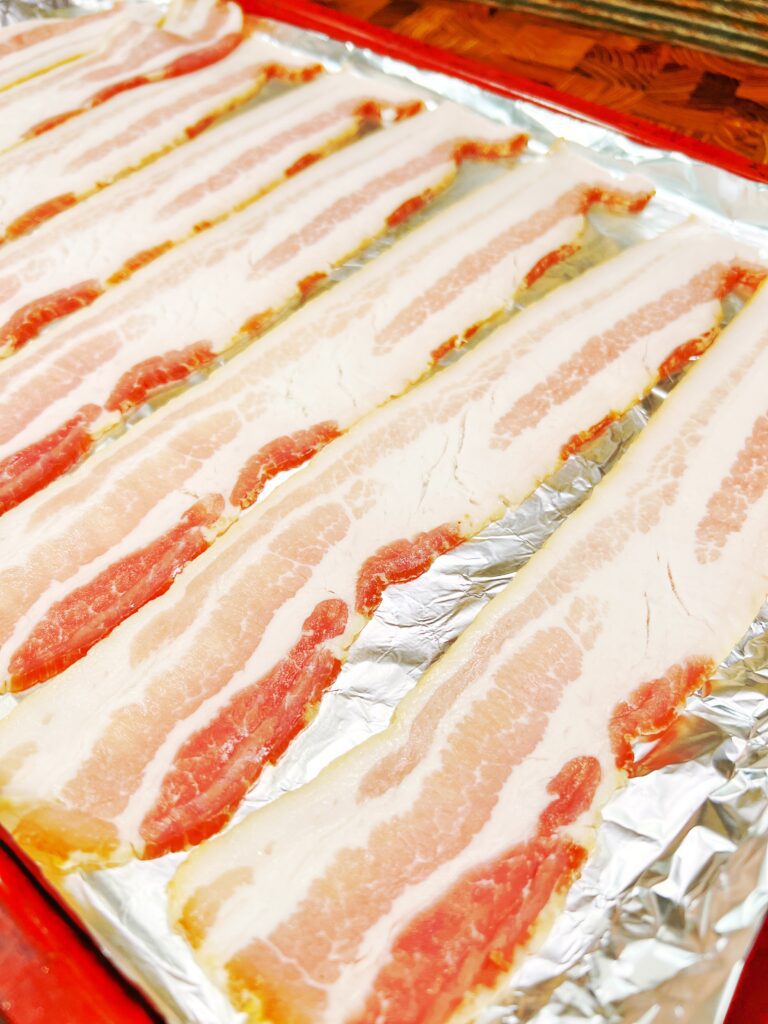
If you have your bacon overlapping then you're going to have bacon that's not cooked on the same strip as a piece that's cooked to perfect. It's not worth it to try to squeeze another slice of bacon on the sheet. Make sure they are all uniformly laid down next to each other, with no overlap. Trust me on this one.
Let’s Cook:
Let's cook bacon in the oven!
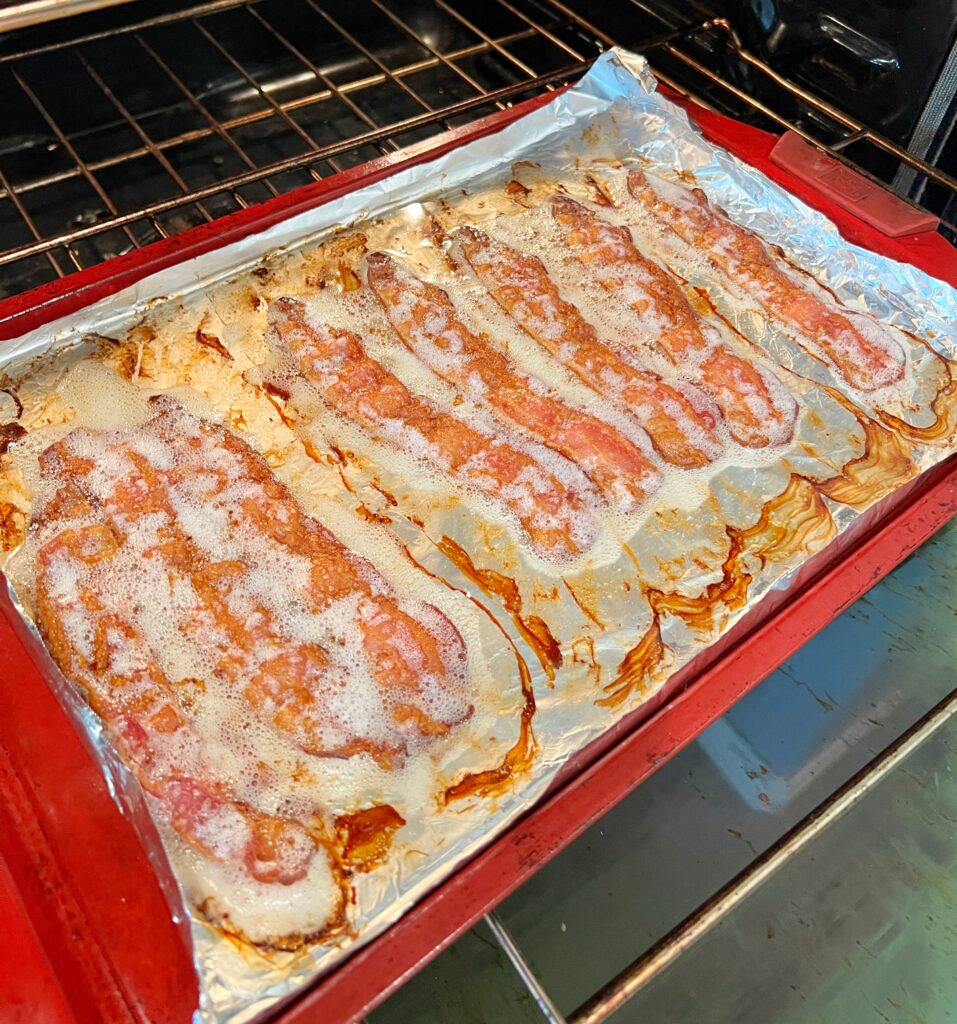
Now that it's all laid out and ready to go. Put the tray of bacon in the oven at 375F after the oven has been preheated. That's it. Set a timer for 15 minutes and go do something else. It's just that easy.
NOTE: This recipe is for what I would call a "normal" cut. (Not thick, not thin). When you see a package that just says "bacon" in the store without a size on it, that's what I'm referring to. If you're interested in getting a thick cut time and temp - let me know in the comments below.
When that time goes off - check to make sure the bacon is cooked to your liking and remove it. Keep in mind that there are differences in cooking temperatures in ovens, also the temperature of the bacon going into the oven could have a minor impact. All of this to say - remove the bacon when it's at YOUR preferred doneness level.
Interested in a unique bacon recipe? Check out Billionaire Bacon Twists on my Instagram page.
Let’s Eat:
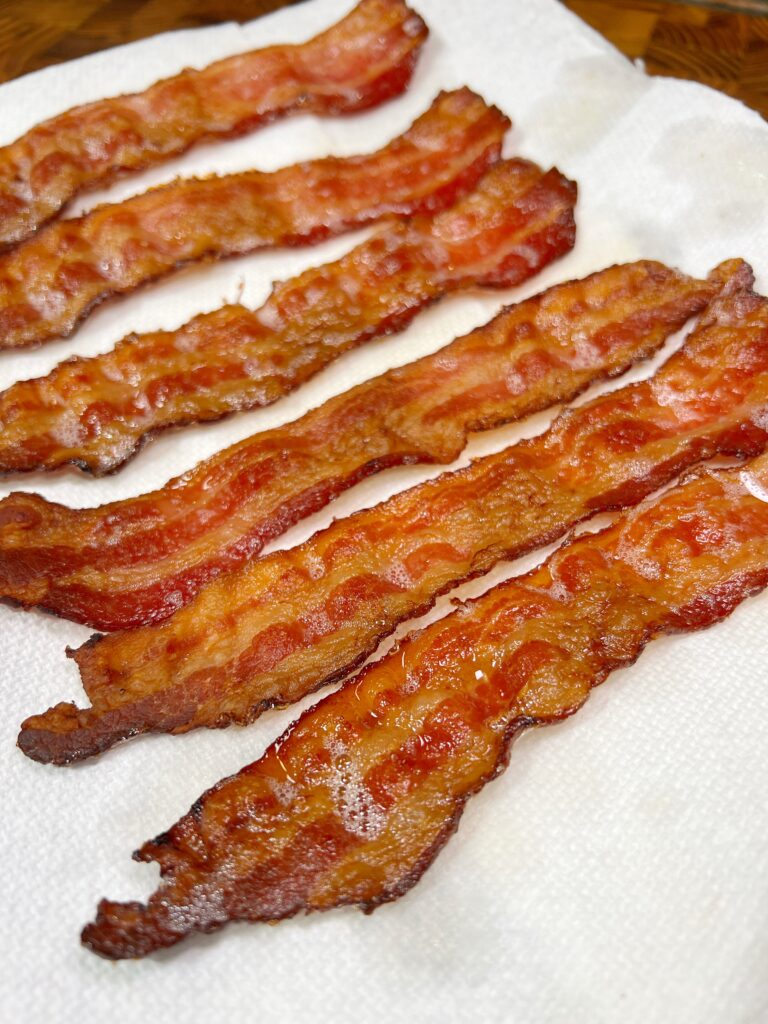
When the bacon is done in the oven remove it and place the bacon on a paper towel lined plate to absorb the excess grease that's on the strips of bacon in the oven. Leave it here for 5-10 minutes to cool and continue to crisp up as the grease is absorbed. After that - you're all done! Enjoy.
Check out the Body by Bacon shirt in my store!

Cook Bacon in the Oven
Ingredients
- 1 lb Bacon Regular cut, sliced
Instructions
- Preheat oven to 375F
- Line baking sheet with aluminum foil. If possible try to cover it all in one sheet as this makes it easier to clean up as noted above
- Lay bacon down side by side as close as possible without touching
- Add sheet with bacon into oven for 15 minutes
- When bacon is cooked to your liking, remove from oven and place strips of bacon paper-towel lined plate to absorb excess grease
Dan says
I use thick cut bacon. Like to know the temp. And time
Danny Dobrzenski says
I'm a fan of thick cut bacon too. It's really hard to say with thick cut, because (literally) every single brand is different in their cut size - the words "thick cut" isn't a standard. Add in that the fat content, and the way it's processed and cured are additional variables and it makes it really hard to pin point. When I'm cooking mine this way - I set a timer for 20 minutes, then check on it every 3-5 minutes from there to make sure it's going to be pulled out at the texture that I prefer.
- Danny