Introduction:
When it comes to smoking brisket, one of the most common questions is: "How do I know when my brisket is done?" The answer might surprise you—it's not as simple as hitting a specific number on your meat thermometer. It's about the feeling more than the temperature.
Cooking brisket is an art, and understanding the subtle cues of doneness is the key to achieving that perfect brisket. In this guide, I'll walk you through the cooking process, highlight critical factors like the internal temp of the brisket, and share tips to ensure every brisket you smoke is tender, juicy, and absolutely delicious.
It doesn't matter whether you're Aaron Franklin or the average backyard cooker. Managing your expectations around cooking times are important regardless of how comfortable you are standing next to the grill! (or smoker in this case). It doesn't matter whether you cook fat side-up, or fat-side down waiting until the brisket is done is absolutely critical to making beautiful slices of tender smoked meat to feed a crowd or yourself!
Preparation Steps
Before we even start talking about when a brisket is done, let's talk preparation. Proper prep lays the foundation for the best brisket experience.
- Trimming Excess Fat: Remove any excess fat from the brisket, but leave a thick layer of fat (about ¼ inch) to help keep the meat moist during the long cooking process.
- Fat Cap Up or Down? This is a personal preference depending on your cooker, but many pitmasters prefer cooking with the fat cap facing up to allow the rendered fat to baste the meat.
- Room Temperature: Allow your brisket to sit at room temperature for about 30-45 minutes before smoking. This ensures even cooking.
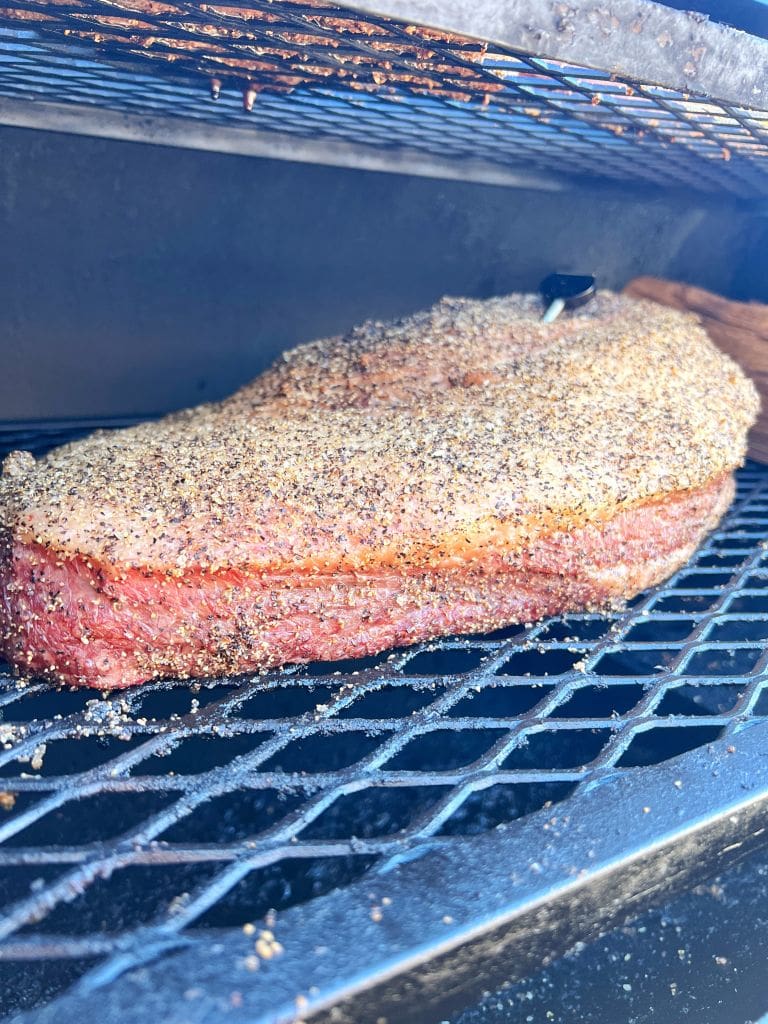
- Seasoning: A simple rub of black pepper, salt, and even a touch of yellow mustard as a binder works wonders. Some pitmasters like to some different seasonings in their rub, but salt and pepper is really all you need in my opinion. If you want a great beef rub: Check out Blazing Star Beef Rub
Having an instant-read thermometer handy to double check your temps and doneness is always helpful and prepping your smoker with a water pan can also make a world of difference in how the brisket cooks.
Cooking/Smoking Times and Techniques
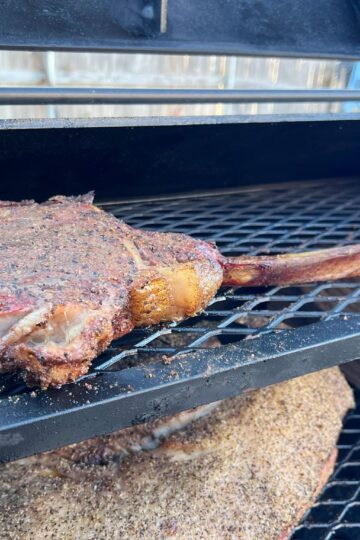
The cooking process for brisket is long and requires patience. It's crucial to understand that brisket isn't done at a specific time; instead, temperature acts as a guide to let you know when to start testing for doneness.
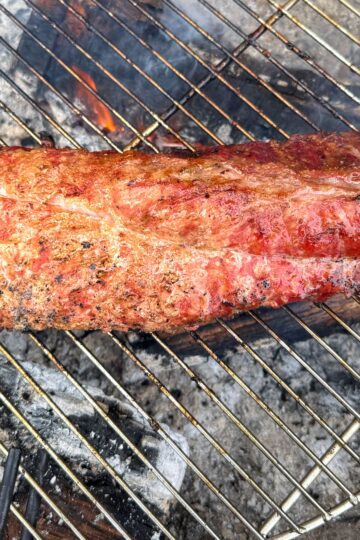
- Low and Slow: Cooking brisket at lower temperatures (225-250°F) is often considered the best way to break down the connective tissue without drying out the meat.
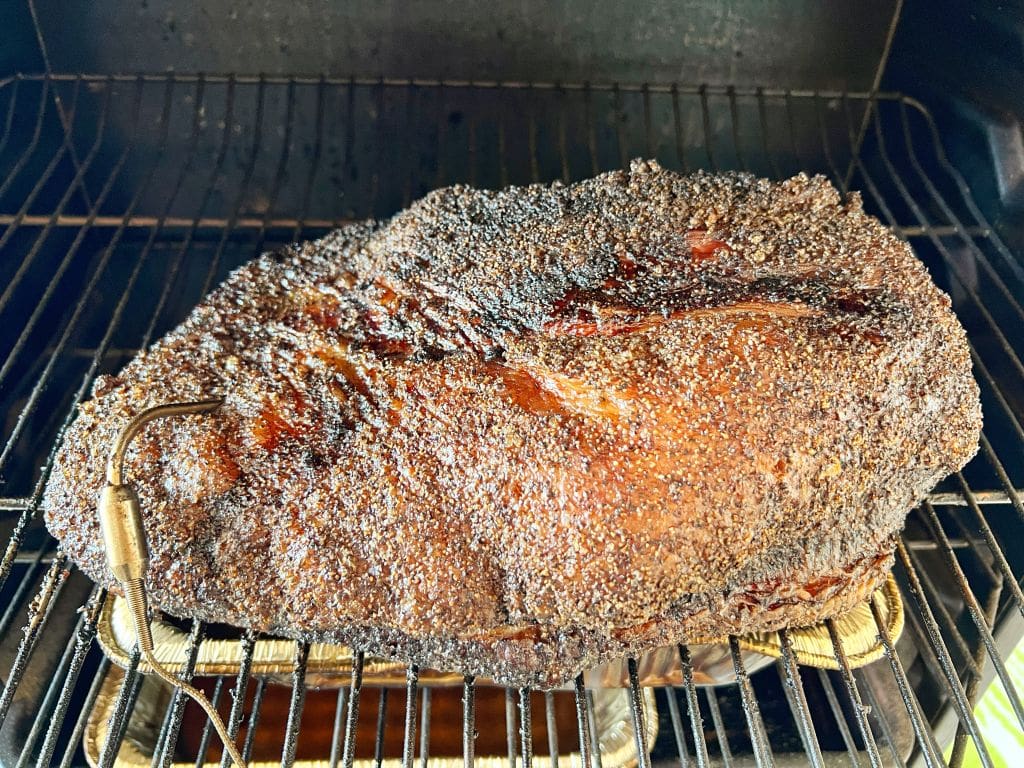
- Internal Temperature Guide: While every brisket is different, you'll typically want to start checking for doneness around 195-205°F. But remember—temperature is not the final indicator.
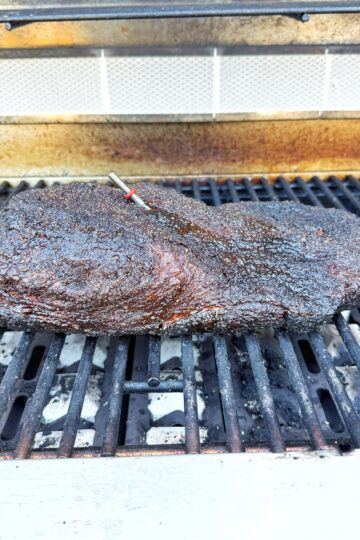
- Probe Tender: When your brisket reaches the ideal internal temperature of the brisket, it's time to use a temperature probe or skewer. The brisket is done when the probe slides through all parts of the meat like it's going into warm butter.
Wrapping the Brisket:
Many pitmasters wrap their brisket during the final stages of smoking. You have a few main options:
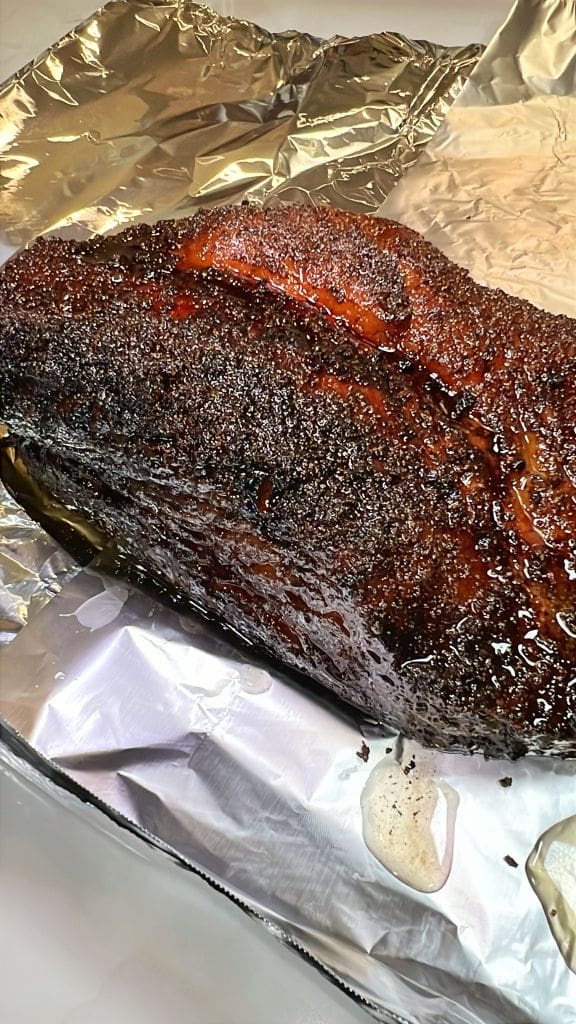
- Aluminum Foil: Helps retain moisture but can soften the bark.
- Pink Butcher Paper: More breathable and helps maintain the bark while keeping the brisket moist.
- Texas Crutch: A common wrapping method using foil or paper to speed up the cooking process.
- No Wrap: Cooking the brisket all the way until it's probe tender then wrapping in foil to rest.
Whether you go with a wrapped brisket or let it ride unwrapped, both methods can yield a great brisket when done right.
Troubleshooting & Common Mistakes
Even seasoned pitmasters face challenges when cooking brisket. Here are some common mistakes and how to avoid them:
- Mistake 1: Relying Solely on Temperature
Brisket isn't done just because it hits 200°F. Instead, focus on probe tender texture. - Mistake 2: Skipping the Resting Period
After cooking, make sure to wrap your brisket in aluminum foil, plastic wrap or butcher paper and let it rest for at least an hour in an insulated cooler or warm oven. This allows juices to redistribute. - Mistake 3: Ignoring the Brisket Point
The brisket point has more fat and needs slightly different attention than the flat. - Mistake 4: Not Using a Water Pan
Adding a water pan helps regulate temperature and keeps the environment humid for a juicy brisket.
Understanding the Stall - What is it?
If you’ve ever smoked a brisket, chances are you’ve experienced (and maybe panicked about) the dreaded stall. The stall is that frustrating point during cooking—usually around 150°F to 170°F—when the internal temperature of your brisket stops rising, sometimes for hours! Trust me, the first time this happened, I was convinced my thermometer was broken or my smoker had given up. But don’t worry, this is totally normal.
So, what exactly is happening? The stall occurs because moisture from the brisket evaporates and cools the meat at the same rate that your smoker heats it up. It laymen terms the heat is leaving the muscles and Similarly to a human, your brisket start to lose moisture from it's surface - it's basically a sweat. You'll see the liquid start to come out from the meat.
The stall can last anywhere from one to multiple hours. This will vary from one piece of meat to the next, and what offers the greatest uncertainty to cooking. The best bet is to just let it go.
Good barbecue comes from patience. Relax and just let it happen. If you're in a hurry though, you can wrap it in foil, and increase your temperature in 25 degree increments to get it moving faster.
Pro Tips for Success
- Use a Water Pan: Keeps the smoker humid and helps prevent the brisket from drying out.
- Personal Preference: Every smoker, brisket cut, and cook is different. Trust your instincts.
- First Brisket Anxiety: If this is your first time smoking a full packer brisket, don't stress. Every pitmaster started somewhere, and there are many uses for brisket that doesn't come out perfectly.
- Juicy Brisket Hack: Keep the fat side moist and don't trim away too much fat.
- Resting is Non-Negotiable: A brisket that's been properly rested is a juicy brisket.
- Monitor the Sweet Spot: The sweet spot for doneness depends on the temperature range and how tender the meat feels.
- Use Beef Broth: Spritzing or injecting beef broth can add moisture and enhance the smoky flavor.
- Before serving the beef brisket, make sure you've got a sharp knife, and cut against the grain.
Conclusion
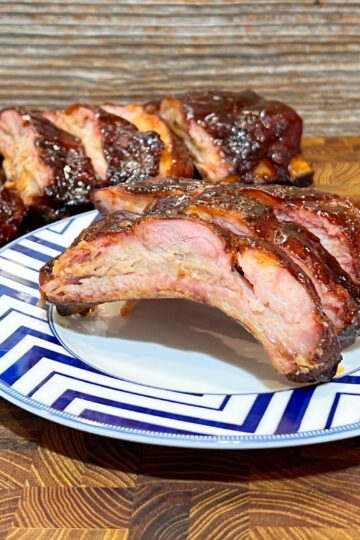
At the end of the day, knowing when brisket is done isn't about hitting a magical temperature—it's about understanding texture, tenderness, and feel. Whether you're cooking a whole packer brisket or experimenting with smaller briskets, remember that patience is your best friend. Trust your instant-read thermometer, but let the probe tender test be your ultimate guide.
Smoking brisket can feel intimidating, but with practice, you'll soon master the cooking process and turn out briskets that rival the pros. So fire up that smoker, grab your brisket, and let the magic happen.
When you've completed this delicious Texas BBQ smoked brisket recipe, it's time to grab your bread, beans, pickles and sauce - make it to your taste, but whatever you do, make sure you've got some paper towels handy for the this juicy brisket made with only a few ingredients
If you've found this guide helpful, let me know how your brisket turned out in the comments below. Happy smoking!
Brisket Recipes You'll Love:
- Brisket Cheeseball Recipe – Leftover Brisket Recipe
- Brisket Potato Skins
- Brisket Bombs – Leftover BBQ Recipe

Leave a Reply