Table of Contents
Watch Me Make It
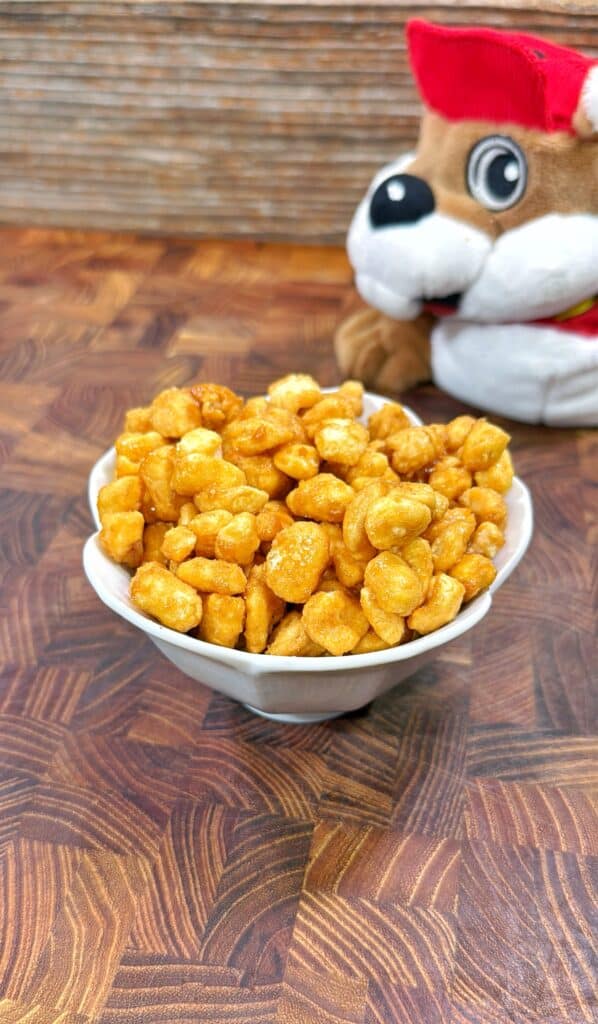
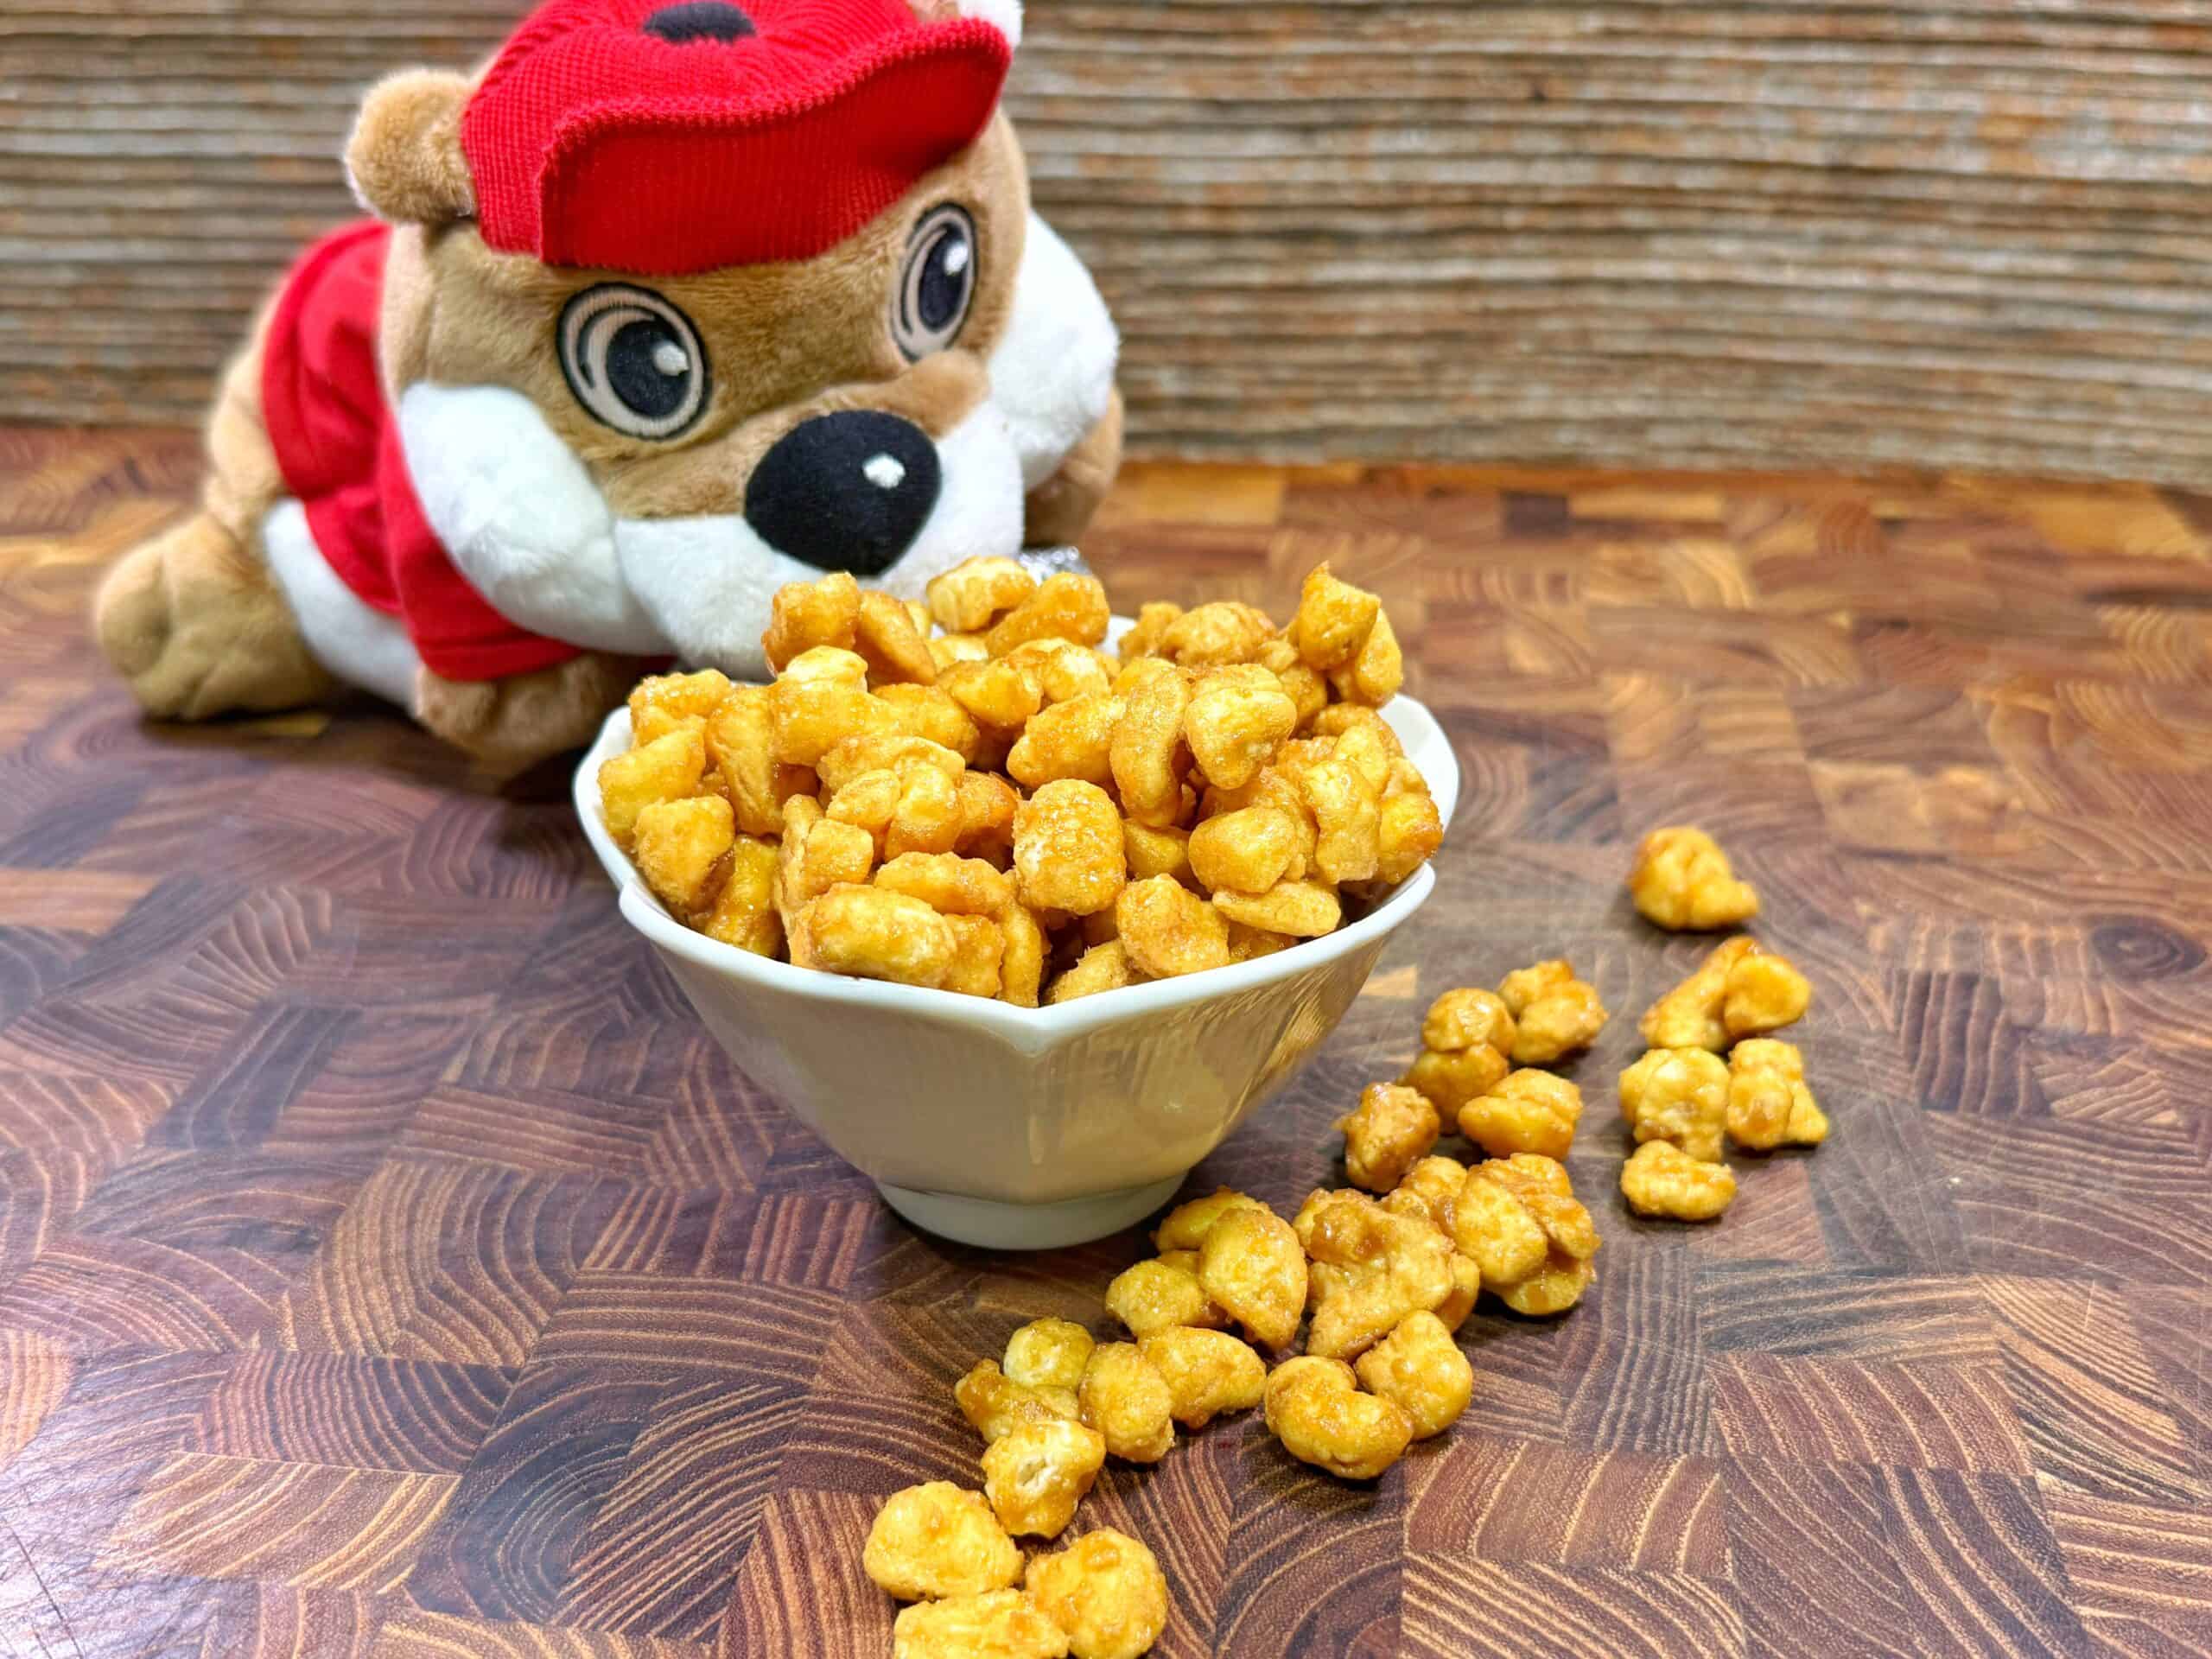
If you’ve ever been on a road trip and spotted that giant beaver sign, you already know the magic that waits inside Buc-ee’s. One of their most famous snacks is the sweet, crunchy caramel-coated corn puffs they call beaver nuggets. I decided to make my own beaver nuggets recipe at home so I could enjoy them any time, without having to plan a long drive to the nearest Buc-ee’s.
Click Here to Print this Recipe and save for later
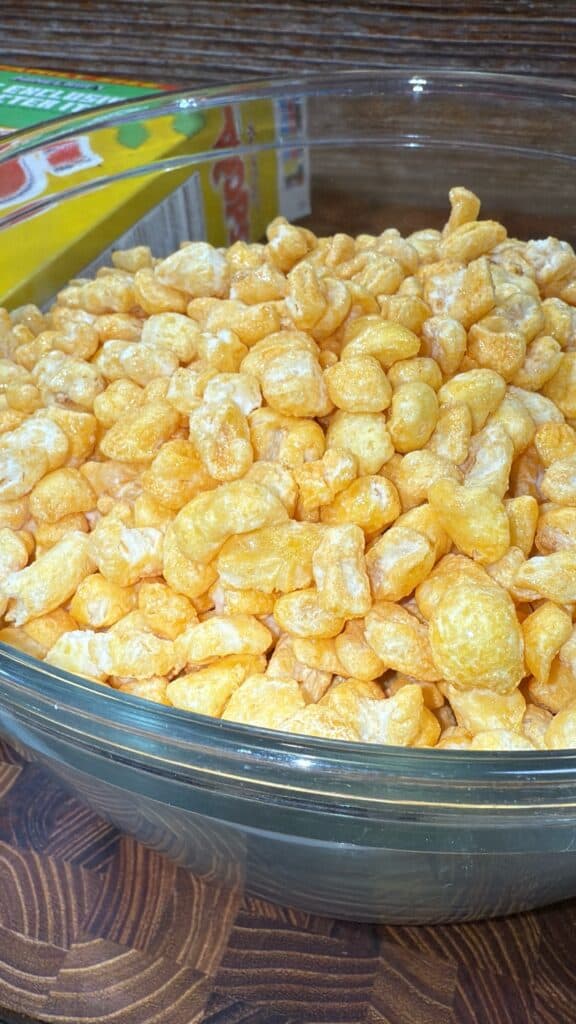
This version is just as addictive as the real deal. The light, airy puffs are coated in a buttery caramel that’s rich with brown sugar and vanilla. I’ve tested this beaver nuggets recipe enough times to know that once you put a bowl out, you might as well make a second batch - they disappear fast.
Why You’ll Love This Beaver Nuggets Recipe
It’s quick to make with simple ingredients you probably already have. You can customize the sweetness, add spices, or drizzle with chocolate for your own spin. Plus, this beaver nuggets recipe makes the perfect party snack, holiday gift, or road trip treat without the road trip.
I’ve made plenty of sweet snacks for my blog, from s’mores cookie cups to candied bacon twists, and this beaver nuggets recipe earns the same “crowd favorite” status. Once you make it, you’ll understand why it’s such an easy win.
Ingredients and Tools You’ll Need
For the base, you’ll need a bag of Corn Pops cereal (10–12 ounces). I prefer the brand-name version because it holds up better during baking, but any puffed corn cereal works in a pinch. Butter, light brown sugar, light corn syrup, pure vanilla extract, and baking soda make up the caramel coating in this beaver nuggets recipe.
For tools, grab a large mixing bowl, a medium saucepan, a spatula, and two large baking sheets lined with parchment paper. The parchment prevents sticking and makes cleanup simple.
Ingredients
- 1 Bag Corn Pops 10oz – 12oz
- 1 C Unsalted Butter (2 sticks)
- 1 ¼ C Light Brown Sugar, packed
- ½ C Light Corn Syrup
- 1 teaspoon Pure Vanilla Extract
- ½ teaspoon Baking Soda
How To Make This Beaver Nuggets Recipe
Preparation
Preheat your oven to 250°F and line two large baking sheets with parchment paper. Pour the corn puffs into a large mixing bowl so they’re ready to coat. Having everything set up before you start the caramel is key to nailing this beaver nuggets recipe.
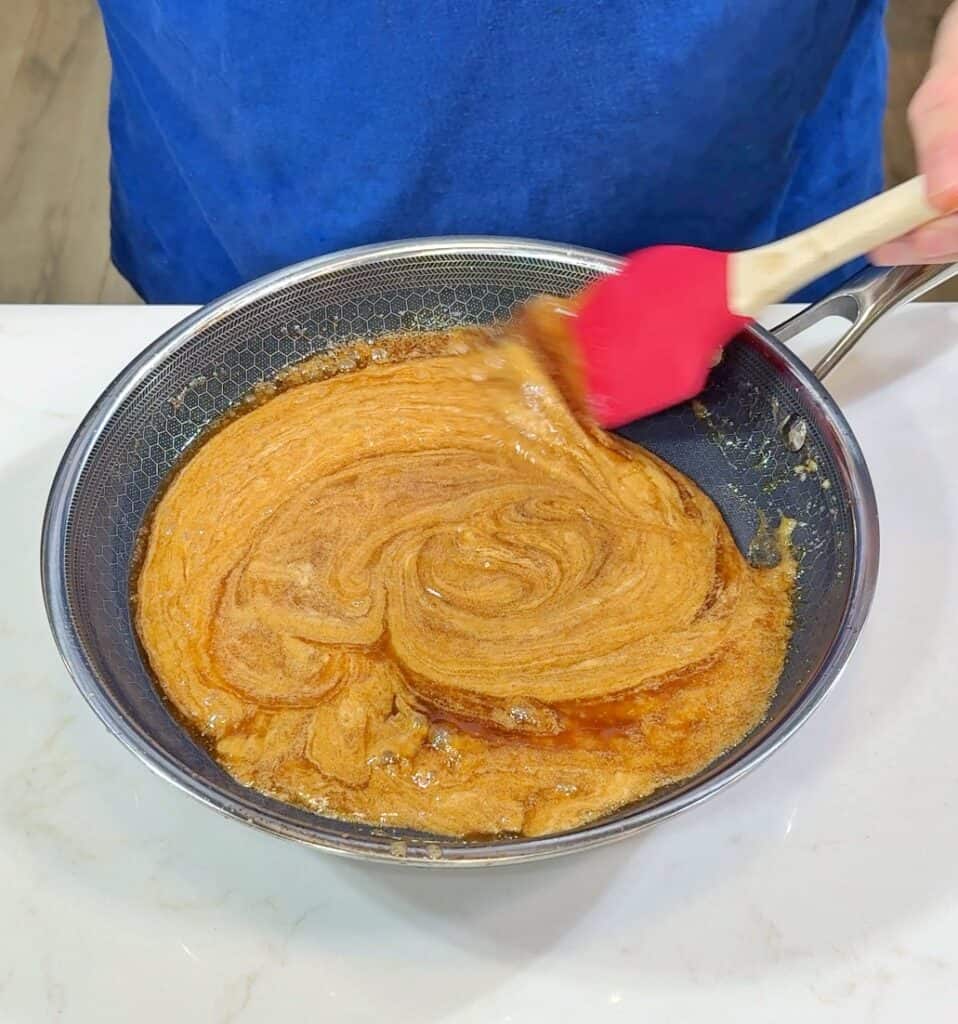
In a medium saucepan over medium heat, melt the butter, then stir in the brown sugar and light corn syrup. Keep stirring until the mixture comes to a gentle boil. Stirring constantly helps create the smooth, glossy caramel that makes this beaver nuggets recipe so good.
Cooking
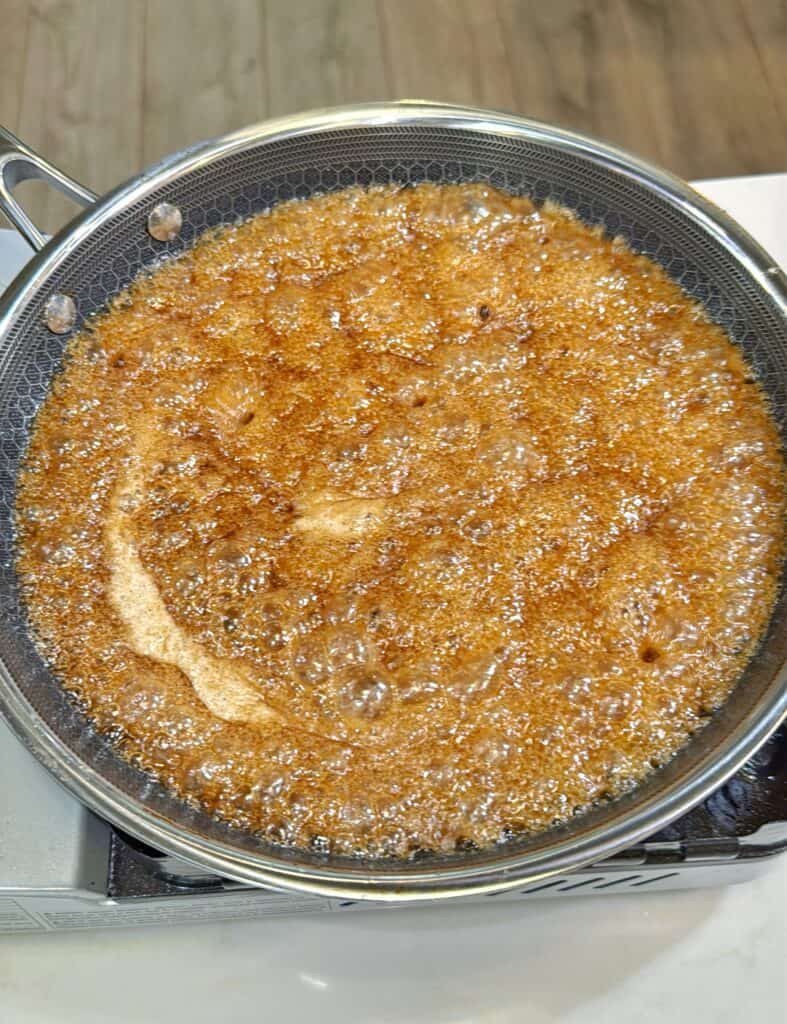
Once it starts boiling, stop stirring and let it bubble for about 2 - 3 minutes. Remove the pan from the heat, then stir in the vanilla and baking soda - it will foam up, which is exactly what you want. That foamy caramel clings to the cereal and makes every bite of this beaver nuggets recipe perfectly coated.
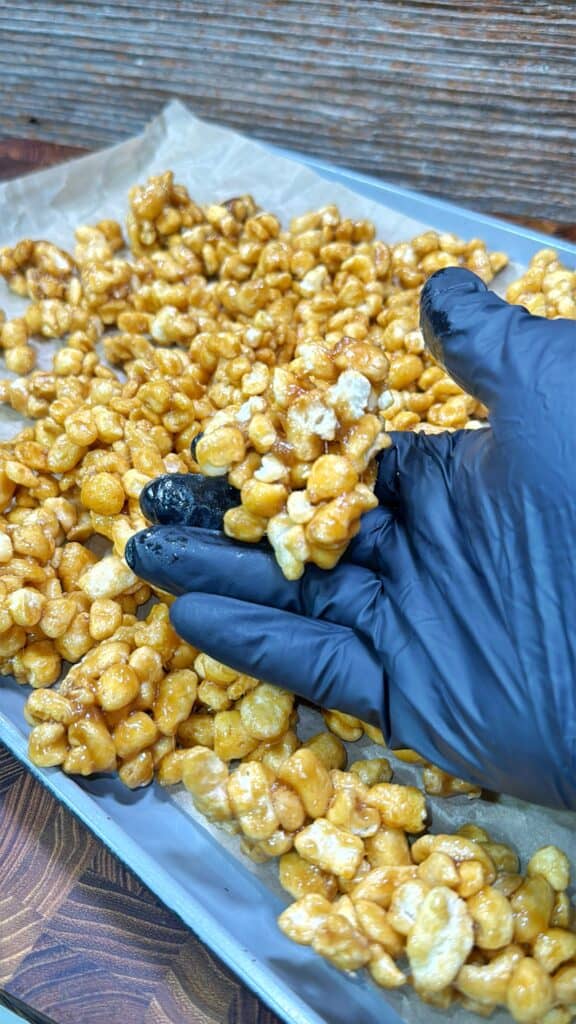
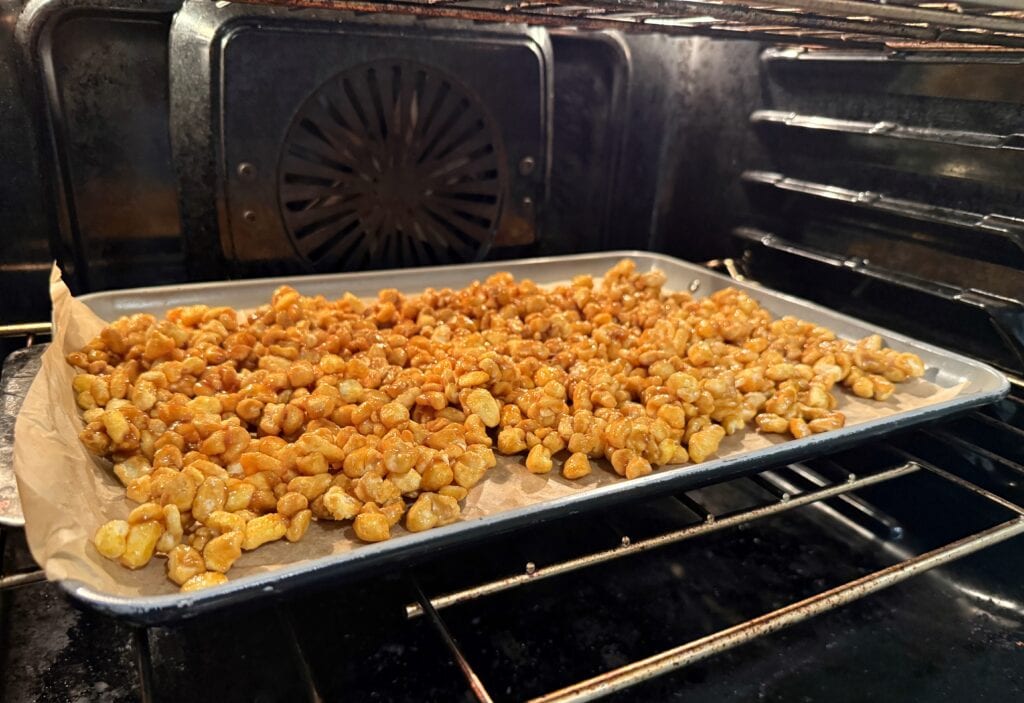
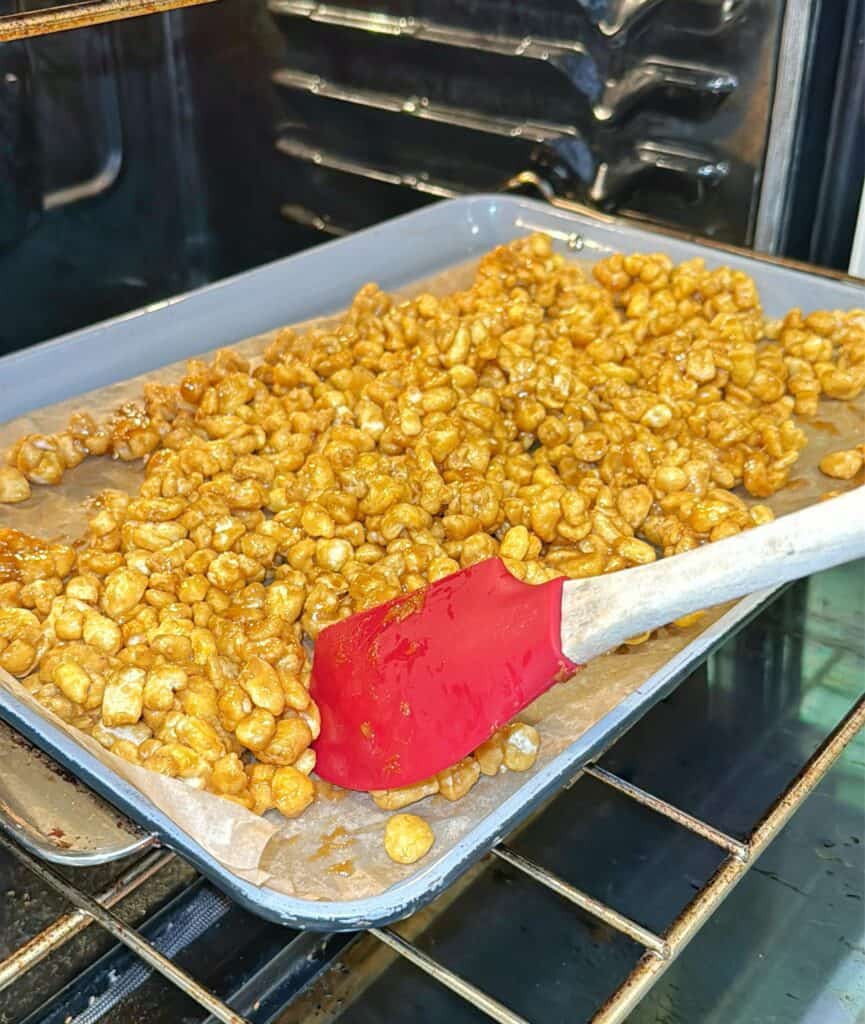
Pour the caramel over the corn puffs in your mixing bowl and gently toss them with a spatula until fully coated. Spread the coated puffs evenly onto your prepared baking sheets. Bake for 45 - 60 minutes, stirring every 15 minutes to keep them from clumping and to ensure even coverage in this beaver nuggets recipe.
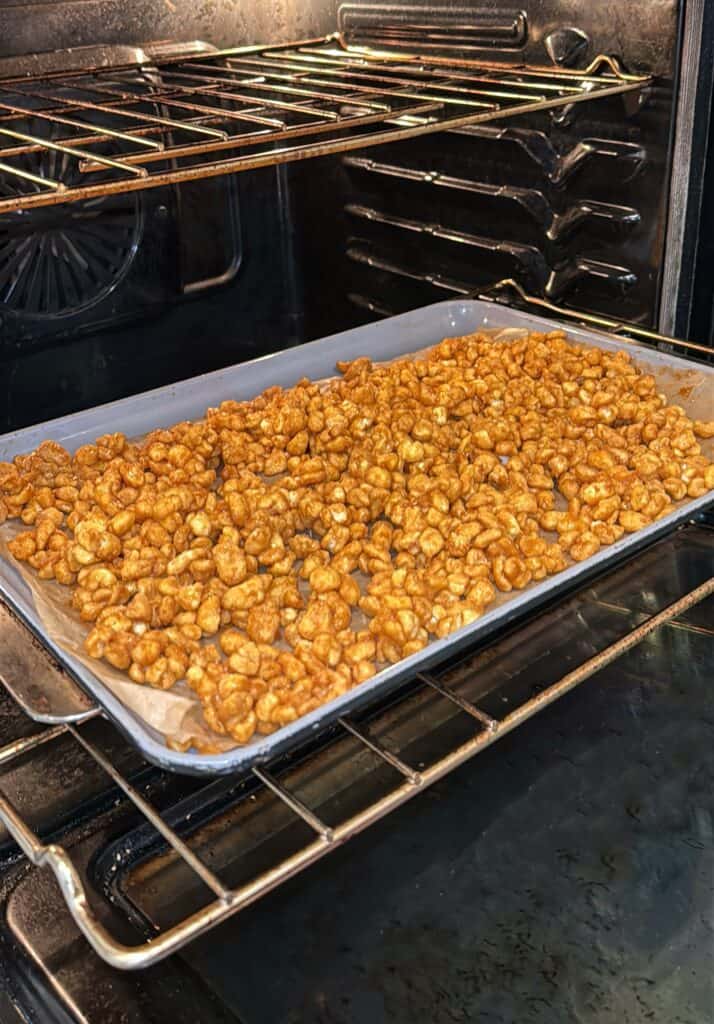
The best cook time is around 45 minutes at 250°F, stirring them every 15 minutes - but check toward the end to avoid over-browning. The aroma will tell you when they’re almost done.
Serving Suggestions
Let them cool completely after baking so the coating crisps up. I love serving this beaver nuggets recipe in a big bowl for movie nights or portioning it into small bags for holiday gifts. It’s also a fun treat to pair with salty snacks like pretzels or candied bacon for a sweet-and-salty spread.
Store leftovers in an airtight container at room temperature for up to a week. Realistically, this beaver nuggets recipe doesn’t last that long - everyone grabs “just one more” until the container’s empty.
Recipe Notes and Pro Tips
Don’t skip the parchment paper because it makes cleanup a breeze. If you want a richer flavor, try dark brown sugar instead of light. A sprinkle of cinnamon or pumpkin pie spice with the baking soda gives this beaver nuggets recipe a warm, seasonal twist.
Stir gently during baking to avoid crushing the puffs. If your caramel hardens too quickly while coating the cereal, pop the bowl into a low oven for a minute or two to soften it again.
Variations
For a cinnamon sugar version, add 1 teaspoon of cinnamon to the caramel before pouring it over the puffs. A chocolate-drizzled take on this beaver nuggets recipe is easy - just melt some chocolate and drizzle it over the cooled nuggets. You can also swap in other puffed cereals like Kix or even cheese puffs for a fun sweet-and-savory experiment.
Adding roasted nuts or mini pretzels after baking gives extra crunch and variety. This beaver nuggets recipe is flexible enough to adapt to whatever flavor combo you want to try.

Other Recipes You'll Love:
- EASY Strawberry Shortcake Smoked Cream Cheese Recipe
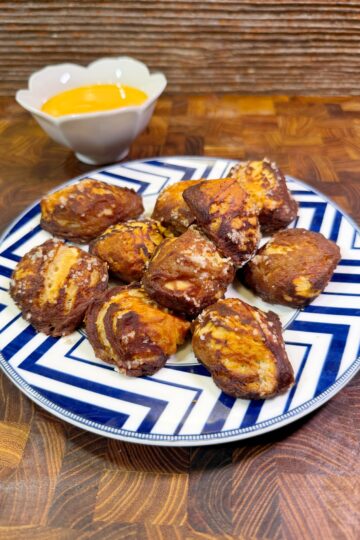
- Bacon Wrapped Cinnamon Roll Bites – Easy Sweet Recipe
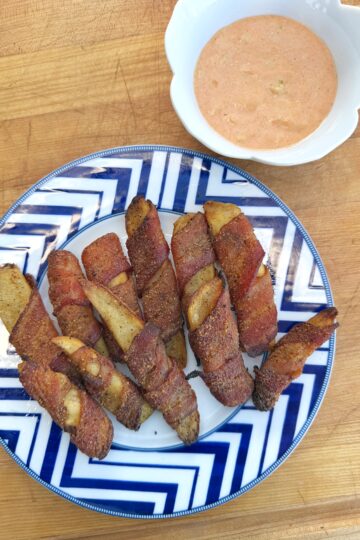
- Dr. Pepper Candied Bacon Recipe – The Best Snack!
- Chocolate Bacon Crack – Candy Covered Crackers Recipe
- Easy Dessert! Bacon Wrapped Oreo Smores
Watch Me Make It
Ingredients
- 1 Bag Corn Pops 10oz - 12oz
- 1 C Unsalted Butter 2 sticks
- 1 ¼ C Light Brown Sugar packed
- ½ C Light Corn Syrup
- 1 teaspoon Pure Vanilla Extract
- ½ teaspoon Baking Soda
Instructions
- Preheat your oven to 250°F. Line large baking sheet with parchment paper.
- Pour the corn puffs into a large mixing bowl and set aside.
- In a medium saucepan over medium heat, melt the butter. Stir in brown sugar and corn syrup. Cook, stirring constantly, until the mixture begins to boil.
- Once boiling, stop stirring and let it boil for 2–3 minutes.
- Remove from heat and quickly stir in vanilla and baking soda. The mixture will foam up - this is normal and helps coat the puffs evenly.
- Immediately pour the caramel mixture over the corn puffs. Use a spatula to gently toss and coat them evenly.
- Spread the coated puffs evenly onto the prepared baking sheet.
- Bake for 45 minutes, stirring every 15 minutes to prevent clumping and ensure even coating.
- Remove from the oven and let cool completely. The coating will crisp up as it cools.
- Store in an airtight container for up to a week (if they last that long).
Lorna Sura says
Living in the northeast my whole life, I've never experienced a Buck'ees but your recipe looks incredible! I'll be giving it a try soon!
Danny Dobrzenski says
Enjoy!
Kelli says
I tried them the first time visiting friends in Kentucky and the nuggets were amazing! Butt Nuggets as we call them
Danny Dobrzenski says
They are always a hit! Thanks!
Mike says
I made these today for the upcoming family gathering. I've never had the original so I can't judge but they sure are good ! Thank you for sharing the recipe !
Danny Dobrzenski says
Glad they were a hit! Thanks for sharing
FlyingFSmokedMeats says
Cross our fingers, just fired up the recteq to give this a shot! Can’t believe you used the oven!!!!
Danny Dobrzenski says
How was it!? I need to know!